Making Fun Fruity Pebbles Sushi Treats Easily: My Step-by-step Guide
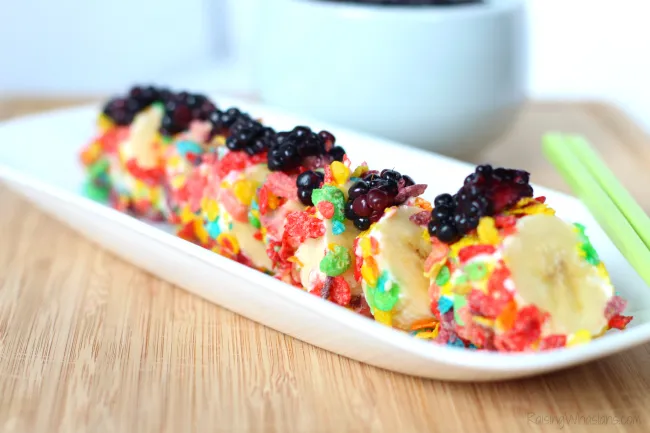
If you love colorful, playful desserts, you’ll want to try making Fruity Pebbles sushi treats. I remember the first time I made these for a family get-together. Everyone’s eyes lit up as soon as I brought out the tray. Kids wanted to know, “Is that real sushi?” Grown-ups kept sneaking bites. The best part? It was so simple to make, and honestly, a little messy in the best way.
Over the years, I’ve made these crunchy, chewy, sweet rolls for birthdays, sleepovers, and just lazy weekends at home. They’re fun to shape, quick to put together, and you don’t need any fancy tools. In this guide, I’ll share everything I’ve learned—what works, what can go wrong, and how to make your Fruity Pebbles sushi look as good as it tastes.
Let’s get started on how you can make these bright, happy treats that will disappear as soon as you set them down.
Why Make Fruity Pebbles Sushi Treats?
Fruity Pebbles sushi isn’t just another rice crispy bar. It’s a dessert that grabs attention and brings out smiles. Here’s why I keep coming back to this recipe:
- Easy to Customize: You can fill them with marshmallow, chocolate, or even your favorite candies.
- No Oven Needed: They’re perfect if you don’t want to bake.
- Great for Parties: Kids and adults both love them, and they travel well.
- Fast to Make: You can finish everything in about 30 minutes.
- Visually Stunning: The colors pop, making any table look festive.
But the real reason I love them? They break the ice. People always ask how they’re made. It’s a dessert that starts conversations.
Ingredients And Tools You’ll Need
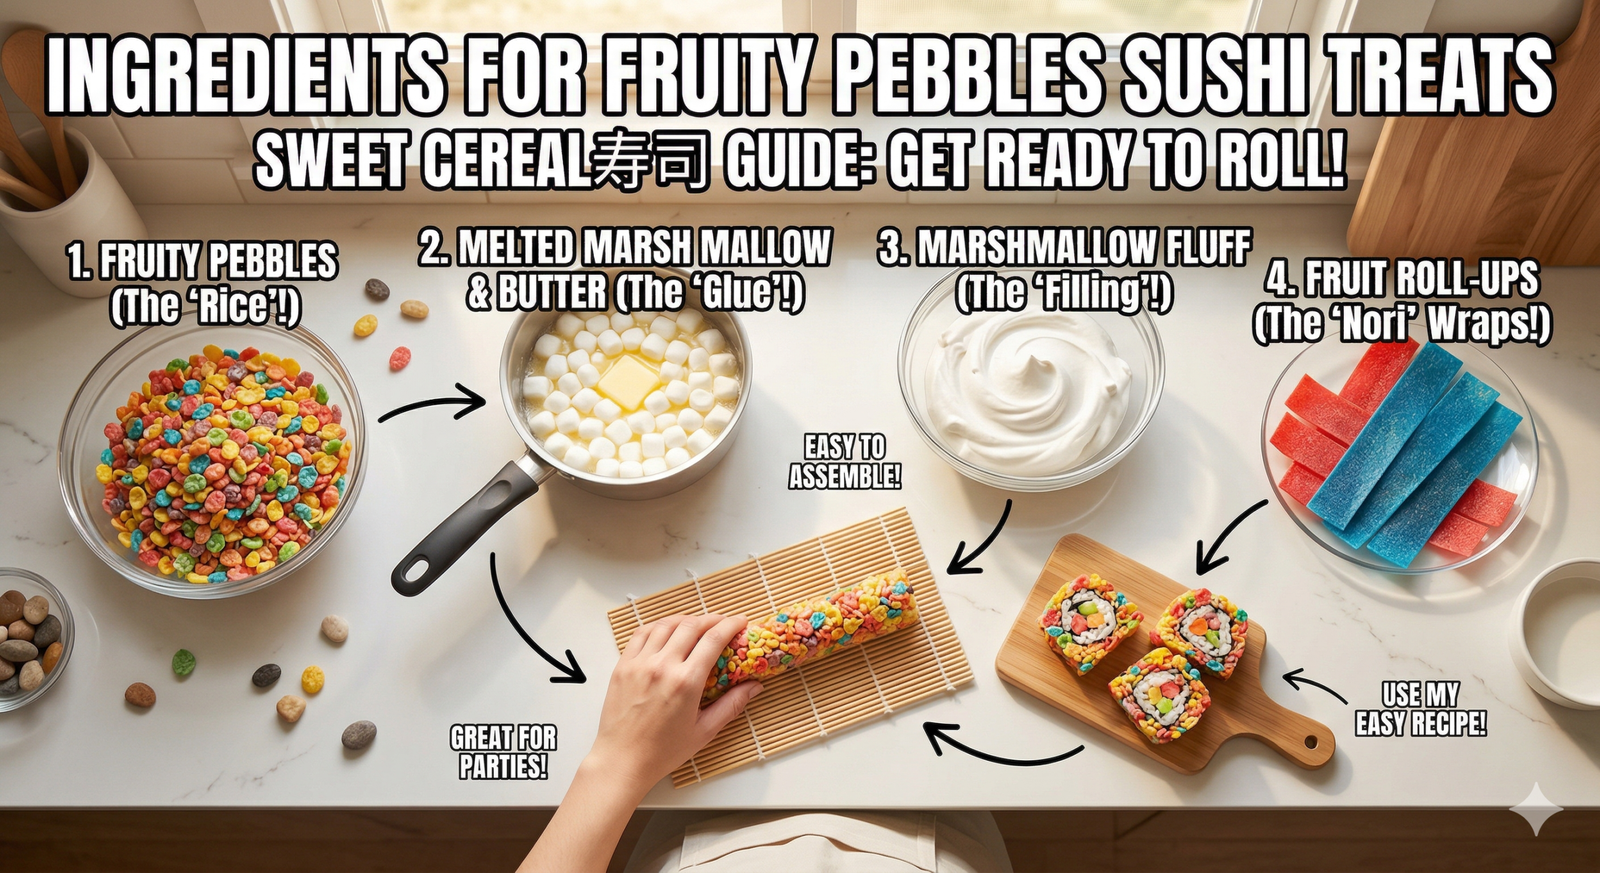
The ingredient list is short and simple. You probably have most of it in your kitchen already. I’ve tried using different brands and types—here’s what works best for me:
Main Ingredients
- Fruity Pebbles cereal: 6 cups (buy a big box, you’ll want extra for snacking)
- Mini marshmallows: 1 bag (about 10 oz, or 5 cups)
- Unsalted butter: 3 tablespoons
- Gummy candies or fruit roll-ups: For the “filling”
- Optional: White chocolate or candy melts, for drizzling
Tools
- Large saucepan or microwave-safe bowl
- Wooden spoon or silicone spatula
- Baking sheet
- Parchment paper or wax paper
- Rolling pin (or just use a clean bottle)
- Sharp knife
A couple of times, I didn’t have a rolling pin, so I just used a water bottle. Worked perfectly! Parchment paper is key here, or things will stick.
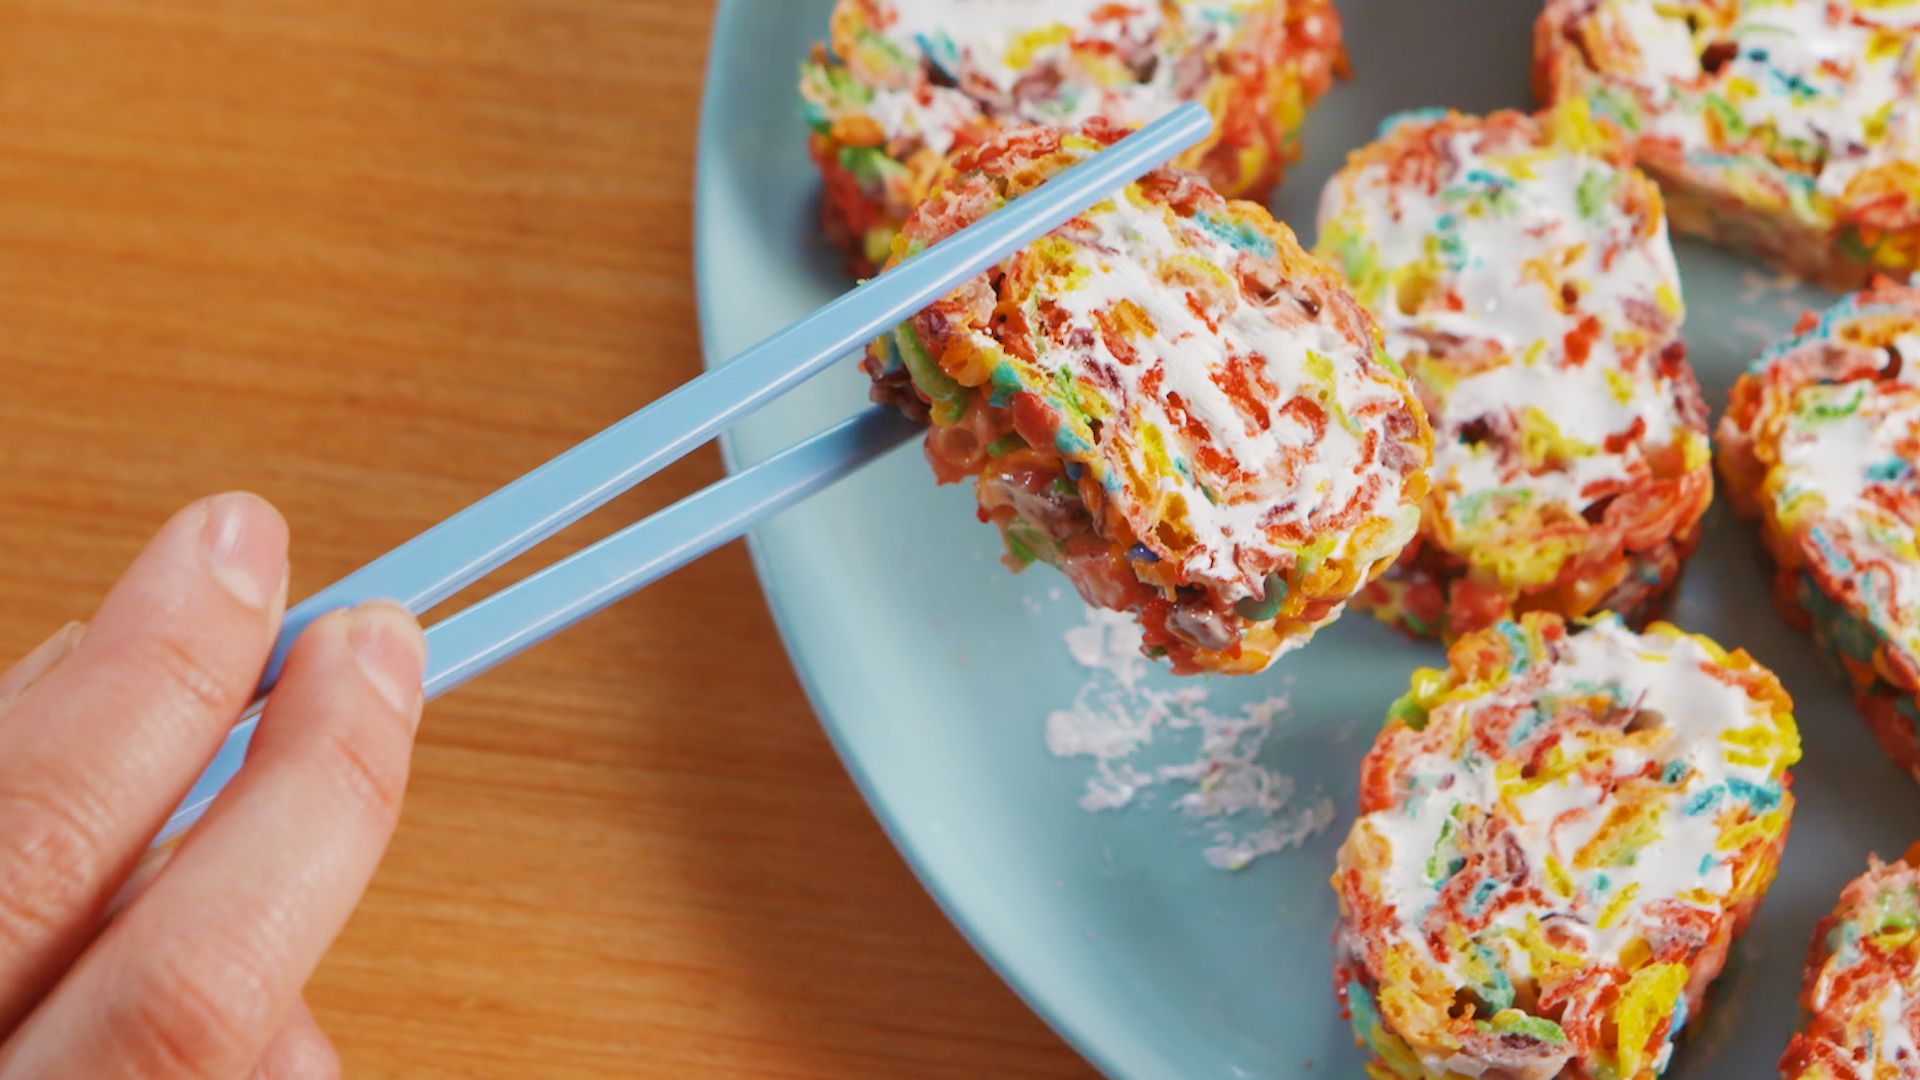
How To Make Fruity Pebbles Sushi Treats
Making these treats is easier than you think. There’s a small learning curve with rolling, but even if your sushi isn’t perfect, it will still taste amazing. Here’s my tried-and-true process:
1. Prepare Your Workspace
First, clear a spot on the counter. Lay down a large sheet of parchment or wax paper. This will make rolling and cleanup much easier. Sometimes I even tape the parchment to the counter so it doesn’t move.
2. Melt The Marshmallows And Butter
In a large saucepan, melt the butter over low heat. Add the mini marshmallows and stir until everything is smooth and melted. If you’re using the microwave, heat in 30-second bursts and stir each time.
Pro tip: Don’t let the marshmallow get too hot or it can harden when mixing. Keep the heat low and gentle.
3. Mix In The Fruity Pebbles
Remove the saucepan from the heat. Pour in the Fruity Pebbles and stir quickly. Work fast—marshmallow sets up quickly as it cools. You want every cereal piece coated, but don’t crush them.
4. Flatten The Mixture
Scoop the sticky mix onto your parchment paper. Place another piece of parchment on top. Use a rolling pin or bottle to gently roll out the mixture into a thin rectangle, about 1/2 inch thick. Try to make the edges straight, but don’t stress—imperfection adds charm.
5. Add The Filling
Now for the fun part. Lay strips of gummy candies or unroll fruit roll-ups across the long edge of your rectangle. I usually add two or three lines of different colors. This makes each slice look like a real sushi roll.
6. Roll It Up
Use the parchment paper to help lift and roll the mixture tightly, just like sushi. Roll slowly, pressing gently as you go. If the mix sticks to your hands, grease them with a little butter or oil.
7. Slice And Decorate
Let the roll cool for about 5 minutes. Use a sharp, greased knife to slice into 1-inch pieces. If you want, drizzle with melted white chocolate or more fruit roll-up strips for extra flair.
8. Serve And Enjoy
Arrange your sushi treats on a platter. They look amazing on a white plate. Watch them disappear!
Here’s a quick comparison to help you see how Fruity Pebbles sushi treats stack up against regular rice crispy treats:
| Feature | Fruity Pebbles Sushi | Rice Crispy Treats |
|---|---|---|
| Color | Bright, multicolored | Mostly white/golden |
| Shape | Rolled, sushi-style | Bar or square |
| Customization | High—add fillings, toppings | Low—mostly plain |
| Serving Style | Impressive presentation | Simple, familiar |
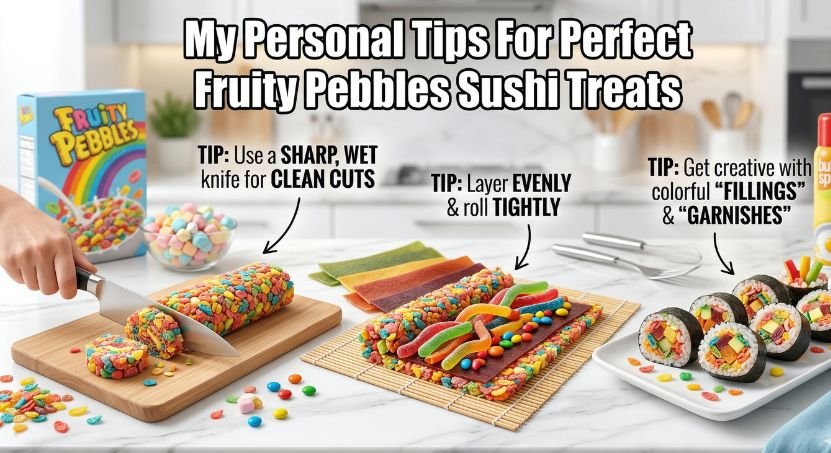
My Personal Tips For Perfect Sushi Rolls
I’ve made these treats many times. Each time, I learned something new. Here are the best tips I can share:
- Grease everything. Marshmallow sticks to hands and tools. Rub a little butter or oil on your hands, rolling pin, and knife.
- Don’t overfill. Too much candy inside makes rolling difficult and messy. Less is more.
- Keep the mixture warm. If it cools, it cracks when you roll. If this happens, microwave for 10 seconds to soften.
- Roll while warm. The mix is most flexible right after mixing.
- Slice with a sharp, greased knife. This keeps edges neat.
And here’s a mistake I made: One time, I waited too long to roll. The mixture hardened and broke apart. If this happens, just eat the scraps—still delicious!
Fun Ways To Customize Your Sushi Treats
Once you’ve mastered the basic roll, there’s no limit to how creative you can get. These are some fun ideas I’ve tried (and loved):
Flavor Variations
- Add a little vanilla extract to the marshmallow for richer flavor.
- Use chocolate chips as a filling for a dessert twist.
- Try different cereals. Cocoa Pebbles also work for a “chocolate sushi” look.
Shape And Size
- Mini sushi rolls for bite-sized snacks—just use less filling and roll thinner.
- Giant sushi rolls for dramatic effect at parties.
Toppings And Decorations
- Drizzle with melted chocolate (white, milk, or dark).
- Dip ends in sprinkles for extra crunch and color.
- Wrap with strips of fruit leather for a “seaweed” effect.
Once, I made a whole “sushi platter” with these ideas. My friends thought I’d ordered from a fancy dessert shop.
Nutrition Facts And Portion Control
It’s easy to eat a lot of Fruity Pebbles sushi treats because they’re small and sweet. Here’s a rough nutrition breakdown for one piece (about 1 inch thick):
- Calories: 90-110
- Sugar: 8-10g
- Fat: 2-3g
- Carbs: 18-20g
These are treats, not health food. But I’ve learned that making them smaller helps with portion control. I usually offer them alongside fruit so people have choices.
If you need more nutrition info, you can always check brands’ official sites or a resource like CalorieKing.
When To Serve Fruity Pebbles Sushi Treats
I’ve brought these treats to all kinds of events. Here’s where they shine:
- Kids’ birthday parties: Always a hit, and kids love helping roll.
- Baby showers: The colors fit any theme.
- School snacks: No nuts, easy to pack.
- Game nights and movie marathons: Bite-sized and not messy.
- Holiday gatherings: Dress them up with themed decorations.
They’re also great for bake sales. They stand out from the usual brownies and cookies, and I’ve had teachers ask for the recipe.
What Makes This Recipe Stand Out?
There are lots of recipes for cereal bars, but Fruity Pebbles sushi treats stand out for a few reasons:
- Visual appeal: The sushi shape and bright colors always wow people.
- Interactivity: Everyone likes to help roll and decorate.
- Low skill needed: Even if you’re not a baker, you can succeed.
- Short ingredient list: No searching for hard-to-find items.
I’ve also noticed that these treats are a great way to include kids in the kitchen. My niece, who’s six, loves to lay out the fillings and roll her own “mini sushi. ” It’s a fun, memorable activity.
How Fruity Pebbles Sushi Compares To Other No-bake Treats
To give you a better idea, here’s a table comparing Fruity Pebbles sushi treats with other popular no-bake desserts:
| Treat | Prep Time | Kid-Friendly | Visual Appeal | Mess Level |
|---|---|---|---|---|
| Fruity Pebbles Sushi | 30 minutes | Yes | High | Medium |
| Classic Rice Krispie Bars | 20 minutes | Yes | Low | Low |
| No-Bake Cheesecake Bites | 45 minutes | Sometimes | Medium | Medium |
| Chocolate Dipped Pretzels | 20 minutes | Yes | Medium | Low |
The sushi treats may take a bit longer, but the payoff is worth it. If you’re making them with kids, expect a little mess—but also a lot of laughter.
Common Mistakes And How To Avoid Them
Even with a simple recipe, things can go sideways. Here’s what I’ve learned the hard way:
The Mixture Sets Too Fast
If you wait too long after mixing, the cereal and marshmallow harden. Work quickly, and have everything ready before you start.
Roll Cracks Or Breaks
This happens if the mix is too cool or too thick. Roll while still warm, and keep the rectangle on the thinner side.
Filling Squirts Out
Too much filling will burst out the sides. Use thin, even strips of fruit roll-up or gummy candy.
Sticking Everywhere
If you forget to grease your hands, tools, or parchment, you’ll be peeling off sticky bits for ages. Always grease everything lightly.
Roll Doesn’t Stick Together
Press the roll gently but firmly as you go. If it unravels, you can patch with a bit of extra marshmallow mix.
I’ve had each of these mishaps, and honestly, even the “failures” taste great. The most important thing is to have fun and not worry about perfection.
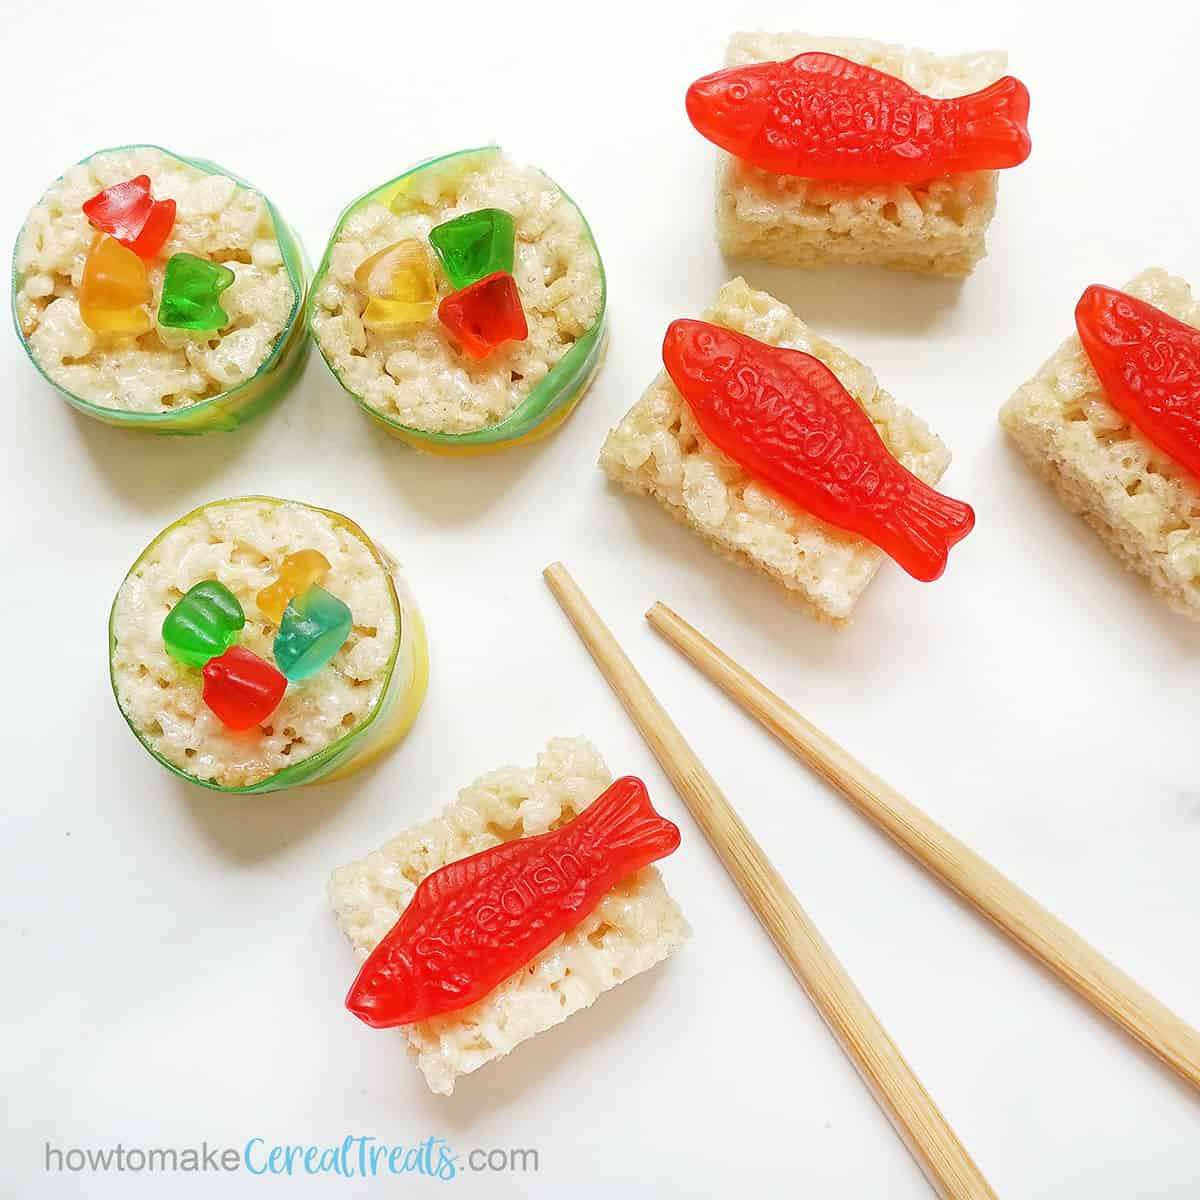
Storage And Make-ahead Tips
You can make these treats a day or two ahead, which is perfect for parties. Here’s what works best for me:
- Store in an airtight container at room temperature. They stay chewy for 2-3 days.
- Separate layers with parchment paper so they don’t stick together.
- Don’t refrigerate. Cold air makes them hard and less chewy.
- Freeze for longer storage. Wrap tightly in plastic wrap, then in a freezer bag. Thaw at room temperature.
I learned the hard way not to put them in the fridge. The texture changes and they lose their fun, chewy bite.
Making Fruity Pebbles Sushi Treats Allergy-friendly
One reason I love this recipe is that it’s easy to adapt for allergies. Here’s what I’ve tried:
- Nut-free: Fruity Pebbles and marshmallows are usually nut-free, but always check labels.
- Gluten-free: Fruity Pebbles are naturally gluten-free. Some marshmallows aren’t, so read the package.
- Dairy-free: Swap butter for coconut oil or vegan margarine, and use dairy-free marshmallows.
I once made a whole batch dairy- and gluten-free for a friend’s child. No one could tell the difference!
Here’s a quick overview:
| Allergy Concern | Ingredient to Watch | Swap To Try |
|---|---|---|
| Gluten | Marshmallows | Certified gluten-free marshmallows |
| Dairy | Butter | Coconut oil, vegan margarine |
| Nuts | Check cereal and candy labels | Choose nut-free brands |
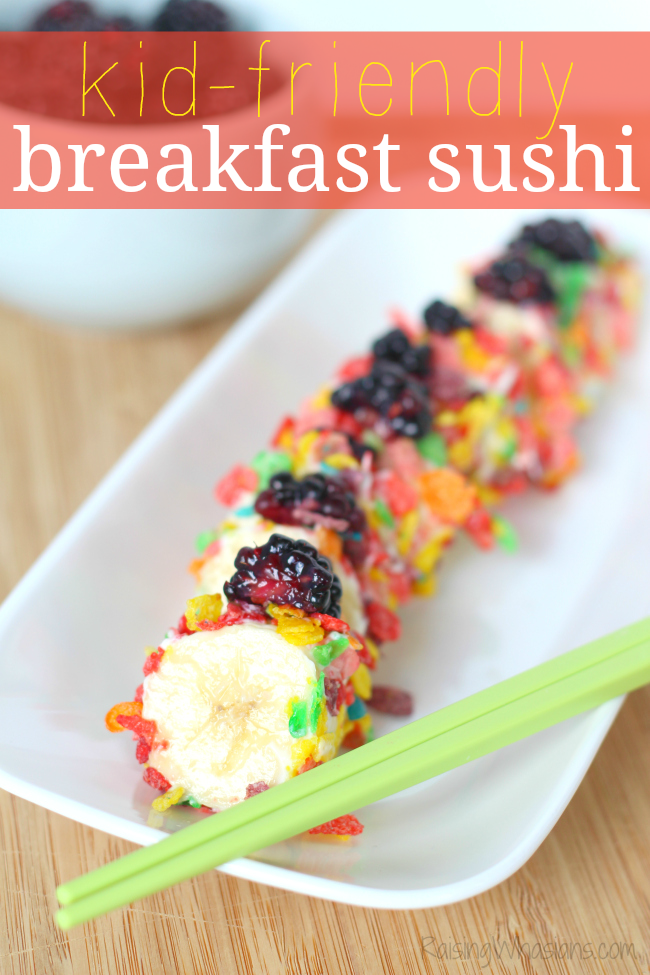
Why Kids (and Adults) Love These Sushi Treats
If you have kids around, this is the recipe to try. Here’s why:
- Colorful and fun. Kids love the look and feel like mini chefs.
- Hands-on. Rolling, pressing, slicing—everyone can join in.
- Instant reward. No waiting for baking or cooling.
- Safe. No sharp tools or hot ovens needed.
Adults love them too. I’ve seen grown-ups compete to see who can make the best-looking roll.
Two Surprising Insights I Learned
These tips took me by surprise when I first made Fruity Pebbles sushi treats:
- Humidity matters. If it’s humid, the treats can get sticky and soft. I try to make them on dry days for best texture. If you live in a humid place, keep the finished treats in an airtight container with a paper towel to absorb moisture.
- Marshmallow freshness counts. Old marshmallows melt poorly and can make the mix lumpy. Fresh, soft marshmallows give the smoothest result.
Real-time Data: What’s Trending With Fruity Pebbles Desserts?
Fruity Pebbles treats have taken off on social media. I’ve seen new versions pop up every month. Some trends this year:
- “Sushi boards” with lots of different candy fillings.
- Viral TikTok videos showing creative shapes—hearts, stars, even “nigiri” with marshmallow “fish.”
- Themed treats for holidays (red and green for Christmas, pink for Valentine’s Day).
If you want to see what’s trending right now, check out #FruityPebblesSushi on Instagram or TikTok.
Frequently Asked Questions
What Can I Use If I Don’t Have Fruity Pebbles?
You can swap in any crispy, small cereal. Cocoa Pebbles, Rice Krispies, or even Trix work well. The flavors will change, but the process stays the same.
How Do I Keep The Rolls From Sticking To My Hands?
Lightly grease your hands with butter or a neutral oil before handling the mixture. This is the best way to keep things from turning into a sticky mess.
Can I Make These Treats Ahead Of Time?
Yes! Fruity Pebbles sushi treats stay fresh for up to three days in an airtight container at room temperature. Separate layers with parchment paper for best results.
Are Fruity Pebbles Sushi Treats Gluten-free?
Fruity Pebbles are naturally gluten-free, but always double-check your brands of marshmallows and candy. Some ingredients may have traces of gluten.
What’s The Best Way To Transport These Treats?
Arrange the slices snugly in a container with parchment between layers. They travel well and hold their shape, making them perfect for parties and picnics.
If you haven’t tried making Fruity Pebbles sushi treats yet, I hope this guide makes it easy and fun for you. The first batch may be a little messy, but that’s half the fun. You’ll end up with a dessert that gets noticed, talked about, and (best of all) enjoyed by everyone. Happy rolling!