Caramelised White Chocolate Ice Cream: My Honest Experience
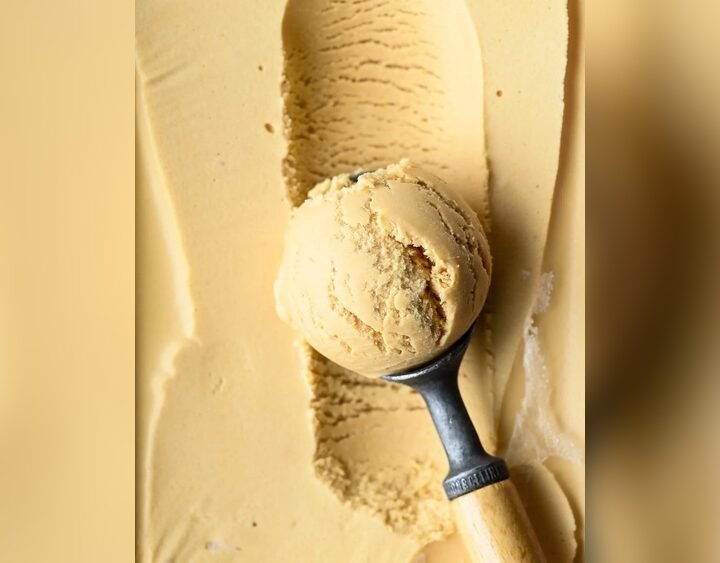
The first time I tasted caramelised white chocolate ice cream, it felt like discovering a hidden gem. The flavor was rich, nutty, and sweet but not overwhelming. If you love classic white chocolate, this twist is a game changer. It’s creamy, with a deeper taste than regular white chocolate. I tried making it at home because store-bought versions are rare and expensive. Let me share everything I learned—the recipe, tips, what makes it special, and where it can improve.
What Makes Caramelised White Chocolate Ice Cream Unique
This ice cream isn’t just vanilla with white chocolate. The caramelising process transforms the chocolate. You bake white chocolate until it turns golden and nutty. This adds a toasted flavor that reminds me of shortbread or caramel, but with more complexity.
Most regular white chocolate ice creams taste one-dimensional—just sweet and creamy. This one is layered, with hints of butterscotch, caramel, and even a little saltiness if you use salted chocolate.
Here’s a quick comparison of classic vs. caramelised white chocolate ice cream:
| Type | Flavor Profile | Creaminess | Sweetness Level |
|---|---|---|---|
| Classic White Chocolate | Milky, sweet, simple | High | Very sweet |
| Caramelised White Chocolate | Nutty, caramel-like, rich | High | Balanced |
I noticed that caramelising white chocolate makes the ice cream less cloying. It’s still sweet, but not in a way that sticks to your teeth.
Ingredients And Quantities
Getting the ingredients right is crucial. I experimented with brands and ratios, and here’s what works best for one batch (about 1 quart):
- White chocolate: 8 oz (good quality, at least 30% cocoa butter)
- Heavy cream: 2 cups
- Whole milk: 1 cup
- Sugar: 1/3 cup
- Egg yolks: 4 large
- Salt: 1/8 tsp
- Vanilla extract: 1 tsp (optional)
You need real white chocolate—not compound bars. The cocoa butter is what caramelises and gives the flavor.
Step-by-step: Making Caramelised White Chocolate
The process takes some patience but isn’t hard. Here’s how I do it:
- Preheat oven to 250°F (120°C).
- Break chocolate into pieces and spread on a baking sheet.
- Bake for 40-60 minutes, stirring every 10 minutes.
- Chocolate turns golden and smells nutty—don’t let it burn.
- Once caramelised, cool and chop finely.
This step is essential. Stirring helps it caramelise evenly. Sometimes it looks dry or chalky, but a quick stir brings it back to life.
Preparing The Ice Cream Base
After caramelising, you make a custard base. Here’s what I do:
- Heat milk and cream in a saucepan until just simmering.
- Whisk egg yolks and sugar in a bowl until pale.
- Slowly pour hot milk mixture into yolks, whisking constantly.
- Return mixture to saucepan, cook over low heat, stirring, until thickened (about 170°F).
- Stir in caramelised chocolate, salt, and vanilla.
- Strain through a sieve for a smooth texture.
- Chill thoroughly—at least 4 hours or overnight.
Chilling is not optional. If you skip it, the ice cream will not churn smoothly.
Credit: ohmyveggies.com
Churning And Freezing
Once chilled, pour the base into your ice cream maker. Churn according to manufacturer’s instructions (usually 20-30 minutes). The mixture thickens to soft-serve consistency.
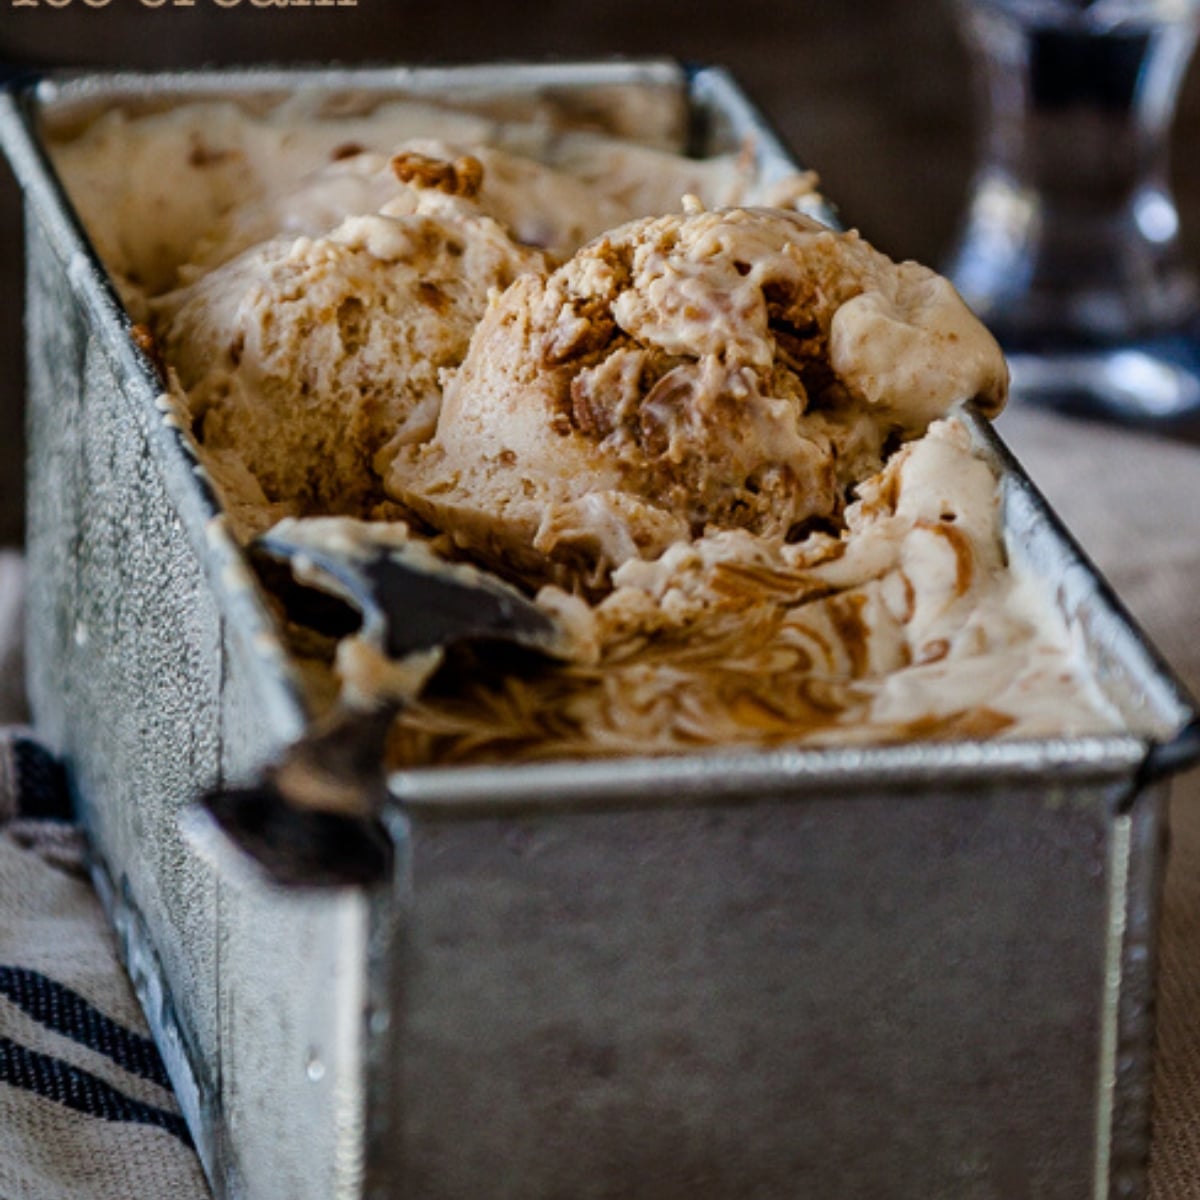
Transfer to a container and freeze until firm—about 4-6 hours. I sometimes add extra caramelised chocolate chunks before freezing for texture.
Here’s a rough timeline:
| Step | Time Required |
|---|---|
| Caramelise chocolate | 1 hour |
| Make custard base | 30 minutes |
| Chill base | 4 hours |
| Churn | 30 minutes |
| Freeze | 4-6 hours |
Total hands-on time is about 2 hours. Most time is waiting for chilling and freezing.
Practical Tips And Common Mistakes
Making this ice cream is simple, but I learned some key points:
- Don’t rush caramelising. If you bake too hot or too fast, chocolate burns.
- Use real white chocolate. Cheap brands don’t caramelise well.
- Chill the base thoroughly. This prevents icy texture.
- Don’t skip straining. Tiny bits of egg or chocolate can ruin texture.
- Keep portions small. This ice cream is rich; small scoops are enough.
A mistake I made at first was using compound chocolate. It melted but didn’t caramelise. The ice cream tasted bland. Also, if you overcook the custard, it curdles. Stir constantly and use a thermometer.
Strengths And Areas For Improvement
Strengths:
- Deep, layered flavor—much more interesting than plain white chocolate.
- Creamy texture if you follow chilling and straining steps.
- Unique—impresses guests, feels gourmet.
Areas for Improvement:
- It’s a rich dessert; sometimes too heavy for large servings.
- Caramelising takes patience. Some people might find it fiddly.
- Homemade batches can be grainy if you skip straining.
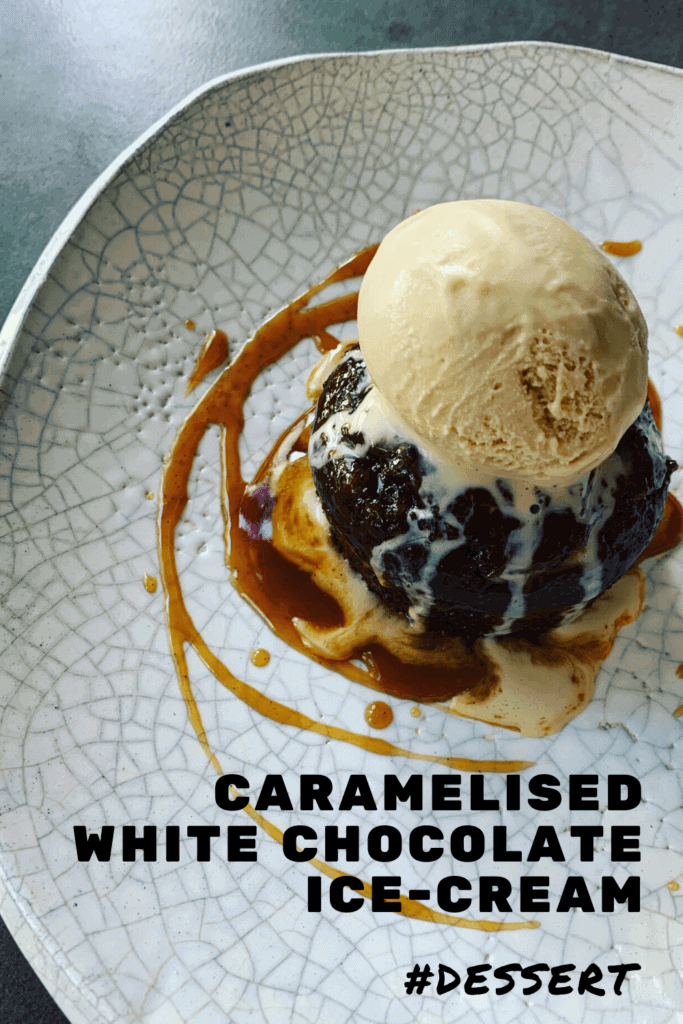
To balance the richness, I sometimes serve it with tart berries or fresh fruit. It’s also good with a sprinkle of sea salt or nuts for crunch.
Serving Ideas And Pairings
This ice cream pairs well with:
- Fresh raspberries or strawberries (cuts sweetness)
- Shortbread cookies (echoes nutty flavor)
- Roasted nuts (adds crunch)
- Espresso (balances richness)
I once made an ice cream sandwich using this ice cream and lemon cookies. The combination was amazing—sweet, tart, and creamy.
Credit: www.anotherfoodblogger.com
How It Compares To Store-bought Versions
Store-bought caramelised white chocolate ice creams are rare. When I found one, it cost almost double regular ice cream. The homemade version tastes fresher and you control sweetness. Most store brands use artificial flavors; homemade uses real chocolate.
Here’s a quick comparison:
| Homemade | Store-bought |
|---|---|
| Real caramelised chocolate, customizable | Artificial flavors, expensive |
| Fresh, creamy texture | Sometimes icy or hard |
| Rich flavor, easy to adjust | Often too sweet, bland |
I recommend trying homemade first. It’s more rewarding and you can tweak it to your taste.
Frequently Asked Questions
How Long Does Caramelised White Chocolate Ice Cream Last In The Freezer?
It stays good for about 2 weeks. After that, it can get icy or lose flavor. Keep it in an airtight container to prevent freezer burn.
Can I Make It Without An Ice Cream Maker?
Yes, but the texture may be less creamy. After chilling, pour the base into a container and freeze. Stir every 30 minutes for 3 hours. The result is a bit more icy but still tasty.
Why Does My Chocolate Turn Grainy When Caramelising?
This often happens if you use low-quality chocolate or bake at too high a temperature. Stir often and use chocolate with at least 30% cocoa butter.
Is Caramelised White Chocolate Ice Cream Gluten-free?
Yes, if you use gluten-free chocolate and ingredients. Always check labels to be sure.
What’s The Best Brand Of White Chocolate For Caramelising?
I’ve had success with Valrhona and Lindt. Avoid cheap brands—look for those with high cocoa butter content. For more info on chocolate chemistry, see Wikipedia.
Making caramelised white chocolate ice cream is a rewarding experience. It’s richer and more complex than classic white chocolate. It takes patience, but the result is worth it. If you want something special, this recipe is a must-try. I hope my honest notes help you avoid mistakes and enjoy every scoop.

Credit: buttermilkbysam.com

