

Cooking Tuna Sushi Bake takes me back to my early days in the kitchen. I loved trying easy meals that were full of flavor. This dish was one of my first wins.
I remember making it when I wanted sushi without the work of rolling. It has layers of soft rice, spicy tuna mayo, and creamy avocado. I top it with furikake and rich Japanese mayo. Every bite has a nice mix of flavor and texture.
Using canned tuna or canned salmon keeps it simple and low-cost. It still tastes amazing. I often add imitation crab and a little cream cheese to make it richer. It reminds me of the sushi bakes I shared with friends on cozy nights.
The seaweed gives each bite a light crunch, while green onions add freshness. This bake works great for one person or for a group.
I grew up loving Vietnamese dishes like Canh Bí Sườn and Thịt Kho. The warm, bold flavors in this sushi bake bring that same comfort. It’s simple cooking that feels like home.
What is Tuna Sushi Bake?
Tuna Sushi Bake is pure comfort in every bite. It mixes the bold taste of Japanese sushi with the cozy feel of a Midwestern casserole. Picture warm rice, creamy tuna, and spicy mayo baked until golden and soft. Every bite feels rich, smooth, and so good.
It’s not classic sushi, but it’s worth making. The first time I made it for my family, it disappeared fast! It’s great for potlucks, cozy dinners, or a fun night with friends.
If you love sushi but don’t want to roll it, this version is perfect. Using canned tuna makes it quick, cheap, and easy.
I often make it on busy nights. It’s warm, creamy, and always hits the spot. Whether you share it or eat it alone, this dish gives a mix of soft rice, savory tuna, and creamy spice that’s hard to resist.

Tuna Sushi Bake Ingredients
Before we dive into making your cozy Tuna Sushi Bake for one, let’s gather some simple and accessible ingredients. These are pantry-friendly and beginner-approved—I keep most of them stocked because this recipe is such a quick fix after long days.
- Nori Sheets (or seaweed snack sheets) – These are perfect for scooping and wrapping your tuna bake. I always go for the snack-sized roasted nori sheets when making this solo—they’re easy to grab and super crisp.
- Tuna – I often use canned tuna packed in water or oil. It’s budget-friendly, and I like that it needs no prep—just drain and mix. You can use chunk light or solid white depending on what you like.
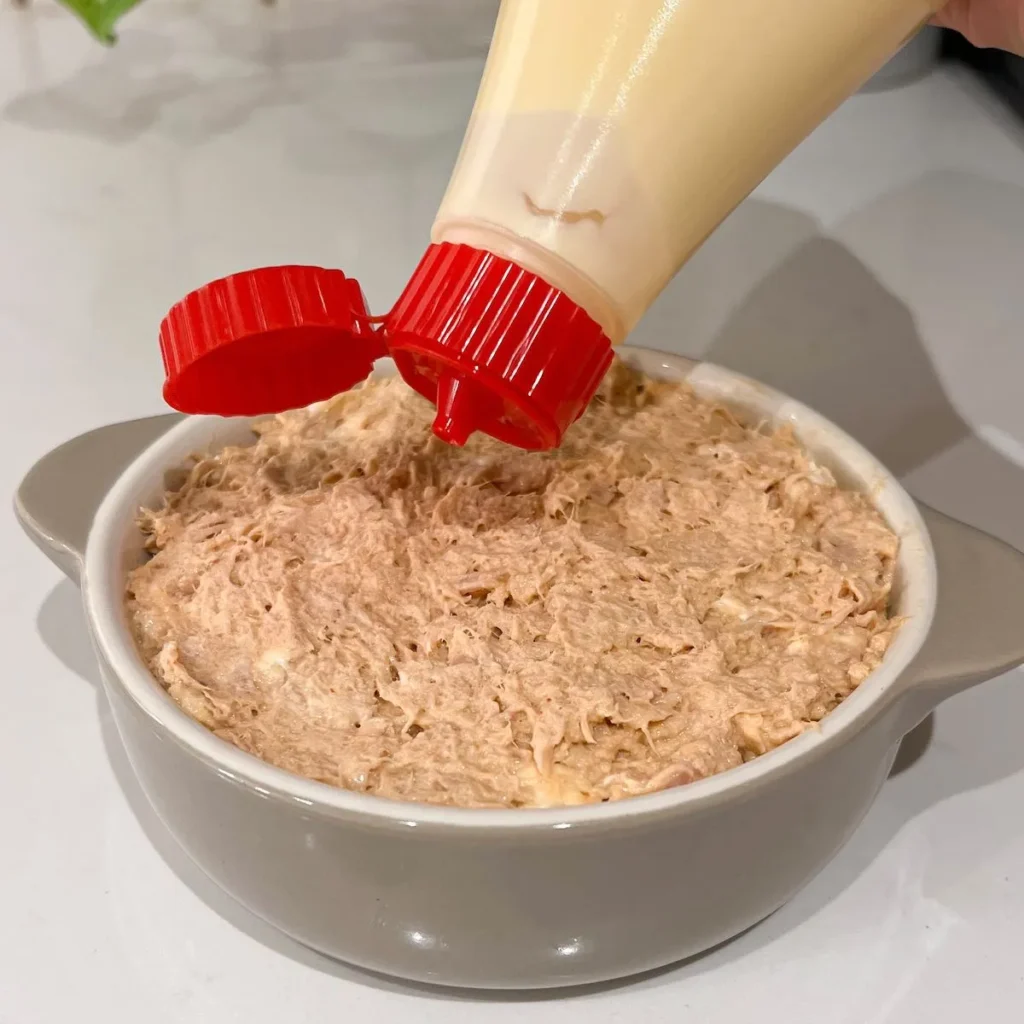
- Japanese mayo (aka Kewpie mayo) – This is what gives the tuna mixture that signature creaminess and umami depth. Kewpie is smoother and richer than regular mayo. I didn’t realize the difference until I tried it in this recipe—it completely changed the texture.
- Ripe Avocados – These add a buttery richness that complements the warm tuna layer. If you’re allergic or don’t have any on hand, thin slices of fresh cucumber work great. I’ve swapped them when I ran out of avocados, and it still came out crisp and refreshing.
- Sesame Seeds – Totally optional, but they add a light crunch and subtle nuttiness. I also sometimes drizzle a few drops of sesame oil into the rice to enhance the toasted flavor—it’s a nice touch if you like a little extra depth.
- Sriracha – This is your spice element. It brings heat, garlic, and a bold tang to the tuna mix. I usually start with a small squeeze, then taste and adjust. Some days I go mild, and others I make it pretty fiery!
- Cream Cheese – Adds a luxurious, velvety texture to the tuna layer. This was a surprise favorite in my first trial. It softens everything and helps the bake hold together well.
- Rice – Go with short-grain sushi rice for the best sticky texture. I always season it with rice vinegar, a pinch of sugar, and a bit of salt to make it taste like proper sushi. That base is key—it really brings the whole dish to life.
- Furikake – This Japanese rice seasoning adds texture, umami, and a hint of saltiness. I love the kind with seaweed and sesame seeds. Sprinkle it generously over the top before baking—it gives your bake a sushi shop feel.
- Eel Sauce – Also called unagi sauce, it’s thick, sweet, and rich in umami. Drizzle it over the top before or after baking. It balances out the spicy tuna so nicely. I always keep a bottle in my fridge just for this recipe.
- Green Onion – Adds a pop of fresh flavor and color. I like to scatter it over the top right before serving. It’s such a simple garnish but really makes it feel finished.
- Neutral Oil – Use a high-heat oil like avocado oil, sunflower oil, or vegetable oil for greasing your dish or brushing the rice before baking. Avoid olive oil here—its lower smoke point can affect the flavor and texture.
Once you’ve got everything your ingredients, you’re ready to assemble and enjoy this comforting, oven-baked tuna sushi twist. It’s flavorful, quick, and made for small servings—which is why it’s become one of my go-to solo meals.
Expert Tips
For the best flavor, texture, and experience when making your Tuna Sushi Bake, keep these quick tips in mind:
- ✅ Use freshly made sushi rice
Warm, moist short-grain rice holds together best for that chewy, layered sushi texture. Avoid day-old rice—it tends to dry out and fall apart. - 🧴 Grease your baking dish with neutral oil
Oils like avocado or sunflower work great to prevent sticking and give a clean release. Skip parchment paper—it can trap steam and make the bottom soggy. - 🐟 Choose canned tuna in oil for better flavor
It’s smoother and richer than tuna in water. If you’re using water-packed tuna, boost the creaminess with a little extra Kewpie mayo or a dash of sesame oil. - 🥑 Use ripe avocados, sliced just before serving
To check ripeness, press the skin gently—if it leaves a small dent, it’s ready. Slice them with a wet, sharp knife for clean cuts and less sticking. - 🍙 Don’t open nori sheets until ready to serve
Roasted seaweed sheets go soft quickly if exposed to air. Keep them sealed until serving for that crisp bite every time.
💡 Pro Tip: I once used cold leftover rice and opened the nori too early—the whole dish lost its texture. Now I always prep fresh and serve nori last—it makes all the difference!
How to Make Tuna Sushi Bake For One
Making a Tuna Sushi Bake for one is incredibly simple and only takes 10 minutes using pantry staples. This easy, cheap, and indulgent dish is perfect when you’re craving sushi but don’t want to make a huge batch. Let’s walk through the recipe together, step by step, so you can recreate this mini tuna sushi bake perfectly at home.

Step 1: Prepare the Tuna
Hey there! If you want a fast, tasty meal, start by getting your tuna ready. I like using canned tuna in oil. It has a rich flavor and smooth feel. Drain it well. About 4 oz per serving is perfect—just enough for one.
You don’t need to cook the tuna because it’s already done. That’s what makes this meal so quick and easy. In a small bowl, mix tuna with Kewpie mayo, sriracha, and cream cheese.
Don’t skip the cream cheese! It makes the mix creamy and smooth. Without it, the texture feels flat. This mix gives you a spicy, creamy filling that tastes like takeout.


Step 2: Assemble & Layer the Ingredients
Now it’s time to build your sushi bake. Grab a small baking dish that can go in the oven. I use a 7×5″ ceramic one, but any small dish works fine.
Spread the warm sushi rice on the bottom. Press it down a little. Add a splash of sushi vinegar for that nice tangy flavor. Then sprinkle furikake on top.
Next, spread your tuna mix over the rice. Drizzle more Kewpie mayo, sriracha, and a bit of eel sauce. Add another light shake of furikake. You now have layers full of flavor and color. I often make this ahead for family dinners or parties—it always turns out great!

Step 3: Bake Tuna Sushi Bake
Now, let’s bake it. I love using my air fryer because it’s fast and easy. Bake for about 5 minutes, just until the top looks golden and bubbly. You can also use a toaster oven or a regular oven.
The quick heat makes the top crisp and warm. Every bite turns out soft inside and creamy on top. It’s cozy, rich, and so simple. When I first tried this in my air fryer, I was amazed—it baked so evenly! This method saves time and keeps your kitchen cool.

Step 4: Add Toppings & Serve
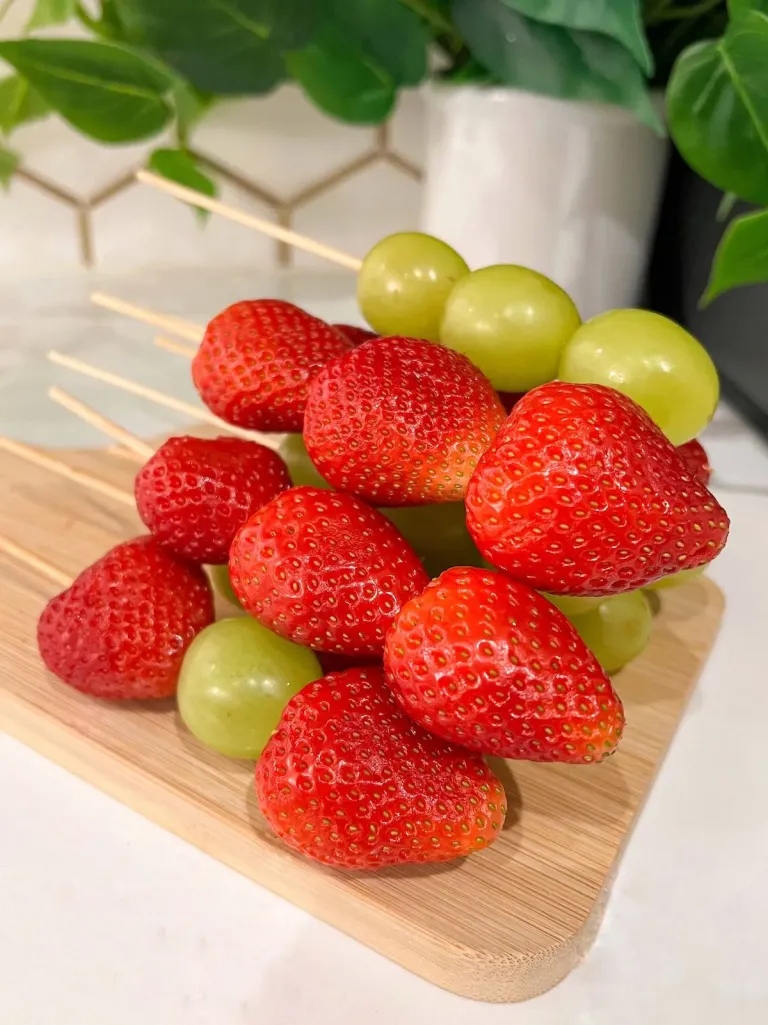
Now for the fun part—toppings! I like adding sliced green onions for a fresh touch. I also serve it with roasted seaweed sheets, thin cucumber slices, and creamy avocado.
Drizzle spicy mayo and eel sauce on top before serving. The mix of creamy, crisp, and umami flavors is perfect.
This easy tuna sushi bake is great for everyone, even picky eaters.
I once made it for my cousins, and they asked what sushi place I ordered from. That’s when I knew this recipe was a keeper!
How to Eat Tuna Sushi Bake
One of my favorite ways to enjoy a Japanese sushi bake is by making a fun open-style hand roll—think of it like a mini sushi taco! Just grab a nori sheet wrap, scoop a spoonful of your tuna sushi bake, and layer on sliced cucumber and creamy avocado.
If you like bold flavors like I do, drizzle some spicy mayo, a bit of eel sauce, and just a touch of sriracha on top. Fold it up and take a bite—it’s a perfect sushi bake without raw fish, and the texture hits every note.
Looking for something lighter? Use cold cucumber slices instead of chips to scoop. I tried this at a friend’s get-together and it was a huge hit—super refreshing and easy to handle.
Another way I often enjoy it is by placing a nori sheet right over the warm dish, then gently scooping with chopsticks. No matter how you eat it, this spicy tuna sushi bake with mayo and sriracha gives you that rich, satisfying bite every single time.
Storage
Spicy tuna sushi bake tastes best when fresh. Try to eat it the same day for the best flavor and texture.
If you have leftovers, keep them in an airtight container in the fridge. They can last up to 4 days.
To reheat, warm it in the microwave for 2–3 minutes or in the oven at 350°F for 5–10 minutes until hot.
Avoid freezing it.
The rice can get hard, and the avocado may turn brown and lose its creamy texture. It’s best enjoyed fresh and warm!
Save This Tuna Sushi Bake Recipe
Tuna Sushi Bake is one of my most loved recipes. This mini sushi bake is just right for one person. It’s quick, easy, and full of flavor.
Try it the next time you want a fast lunch or dinner. You can also share it with your family and friends—they’ll love it too!
More Recipes You Might Like

What Sauce is commonly eaten with
Easy & Simple Tuna Sushi Bake For One
Description
This Easy Tuna Sushi Bake for One is a warm, simple sushi dish. It’s perfect when you crave sushi but want no rolling or raw fish.
Use canned tuna, Kewpie mayo, and soft sushi rice.
It’s full of flavor and ready in under 20 minutes.
Just mix, layer, and bake — that’s it!
Ingredients
Serve with:
Instructions
- In a bowl, mix tuna, mayo, and sriracha. Stir until creamy and smooth. Taste and add a little more spice if you like it hot.
- Spread warm sushi rice in a small baking dish. Press it down gently. Sprinkle rice vinegar and a bit of sugar for flavor.
- Spoon the tuna on top of the rice. Spread it out evenly. Drizzle extra mayo or sriracha for a creamy kick.
- Bake at 400°F (200°C) for 10–12 minutes until warm and bubbly. Scoop onto seaweed sheets and enjoy every bite!
Nutrition Facts
Servings 3
Serving Size 1
- Amount Per Serving
- Calories 400kcal
- % Daily Value *
- Total Fat 25g39%
- Saturated Fat 4g20%
- Cholesterol 35mg12%
- Sodium 600mg25%
- Potassium 300mg9%
- Total Carbohydrate 30g10%
- Dietary Fiber 2g8%
- Sugars 2g
- Protein 20g40%
- Vitamin A 150 IU
- Vitamin C 1 mg
- Calcium 40 mg
- Iron 1.5 mg
- Vitamin D 50 IU
- Vitamin E 1 IU
- Vitamin K 5 mcg
- Thiamin 0.1 mg
- Riboflavin 0.15 mg
- Niacin 4 mg
- Vitamin B12 1.2 mcg
- Biotin 3 mcg
- Phosphorus 150 mg
- Iodine 20 mcg
- Magnesium 20 mg
- Selenium 15 mcg
- Chromium 2 mcg
- Molybdenum 3 mcg
- Chloride 250 mg
* Percent Daily Values are based on a 2,000 calorie diet. Your daily value may be higher or lower depending on your calorie needs.
Note
- Use fresh salmon for the best taste. Cook it until flaky but still soft.
- Let the rice cool a bit before adding toppings so it doesn’t get soggy.
- Mix a little mayonnaise and sriracha for a creamy, spicy kick.
- Serve warm with seaweed sheets for easy bites — just like sushi rolls, but simpler.
