When I first made banana pudding truffles, I was just looking for a quick dessert for a potluck. I had ripe bananas, leftover vanilla wafers, and a craving for something sweet but not too heavy. What I didn’t expect was how these little bites would steal the show. Friends asked for the recipe, and even my picky cousin went back for seconds. I realized that banana pudding truffles weren’t just simple to make—they were a real crowd-pleaser.
In this article, I’ll walk you through everything you need to know about making easy banana pudding truffles. I’ll share what worked for me, where I slipped up, and the tricks I’ve picked up after making these treats more times than I can count.
Whether you’re a beginner in the kitchen or a dessert enthusiast, this guide is for you.
What Are Banana Pudding Truffles?
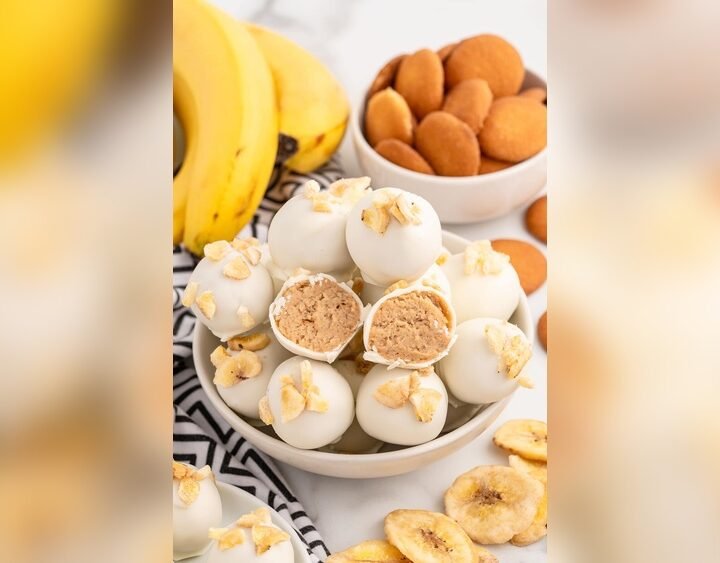
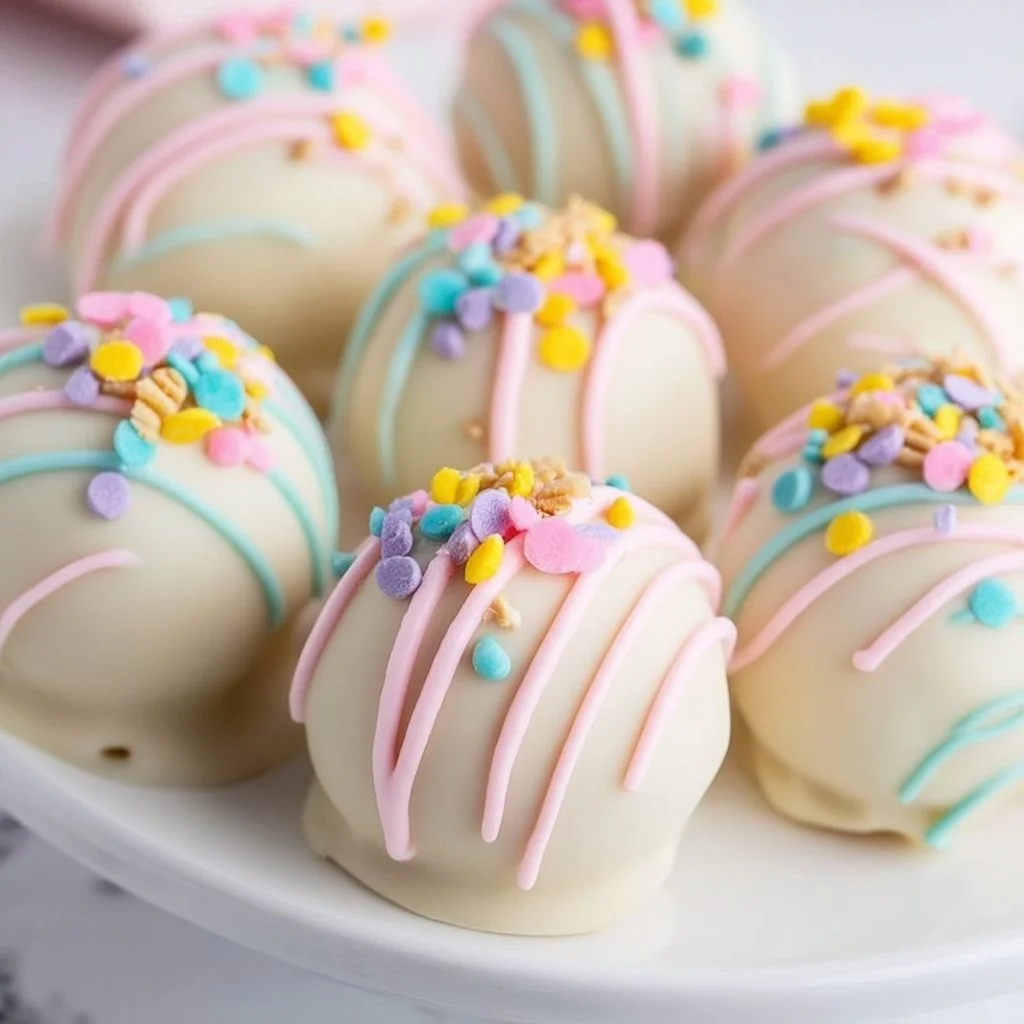
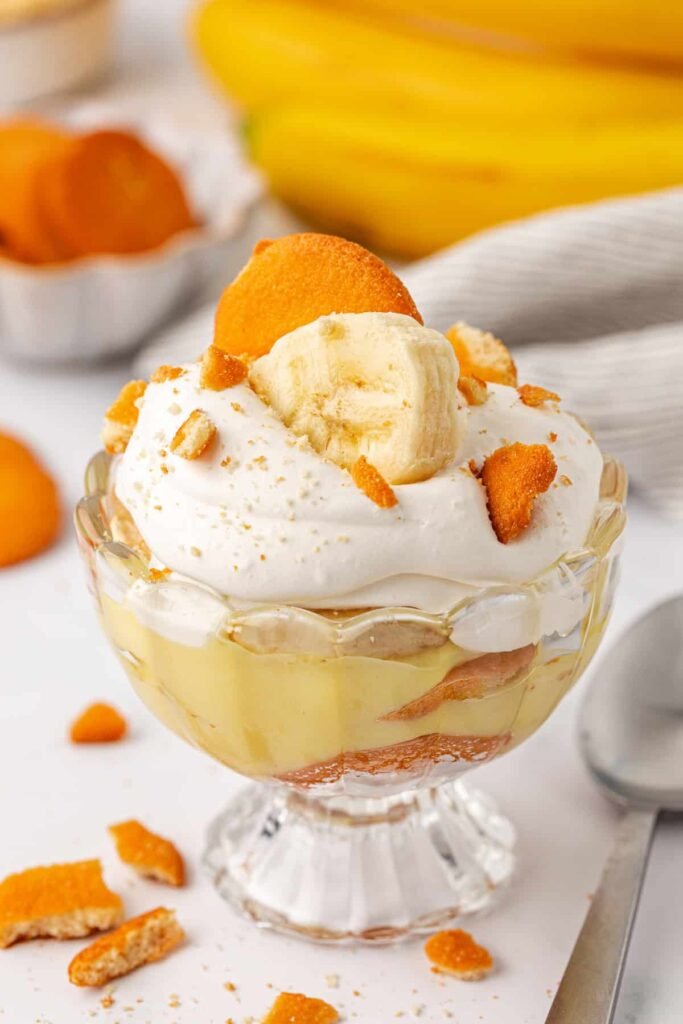
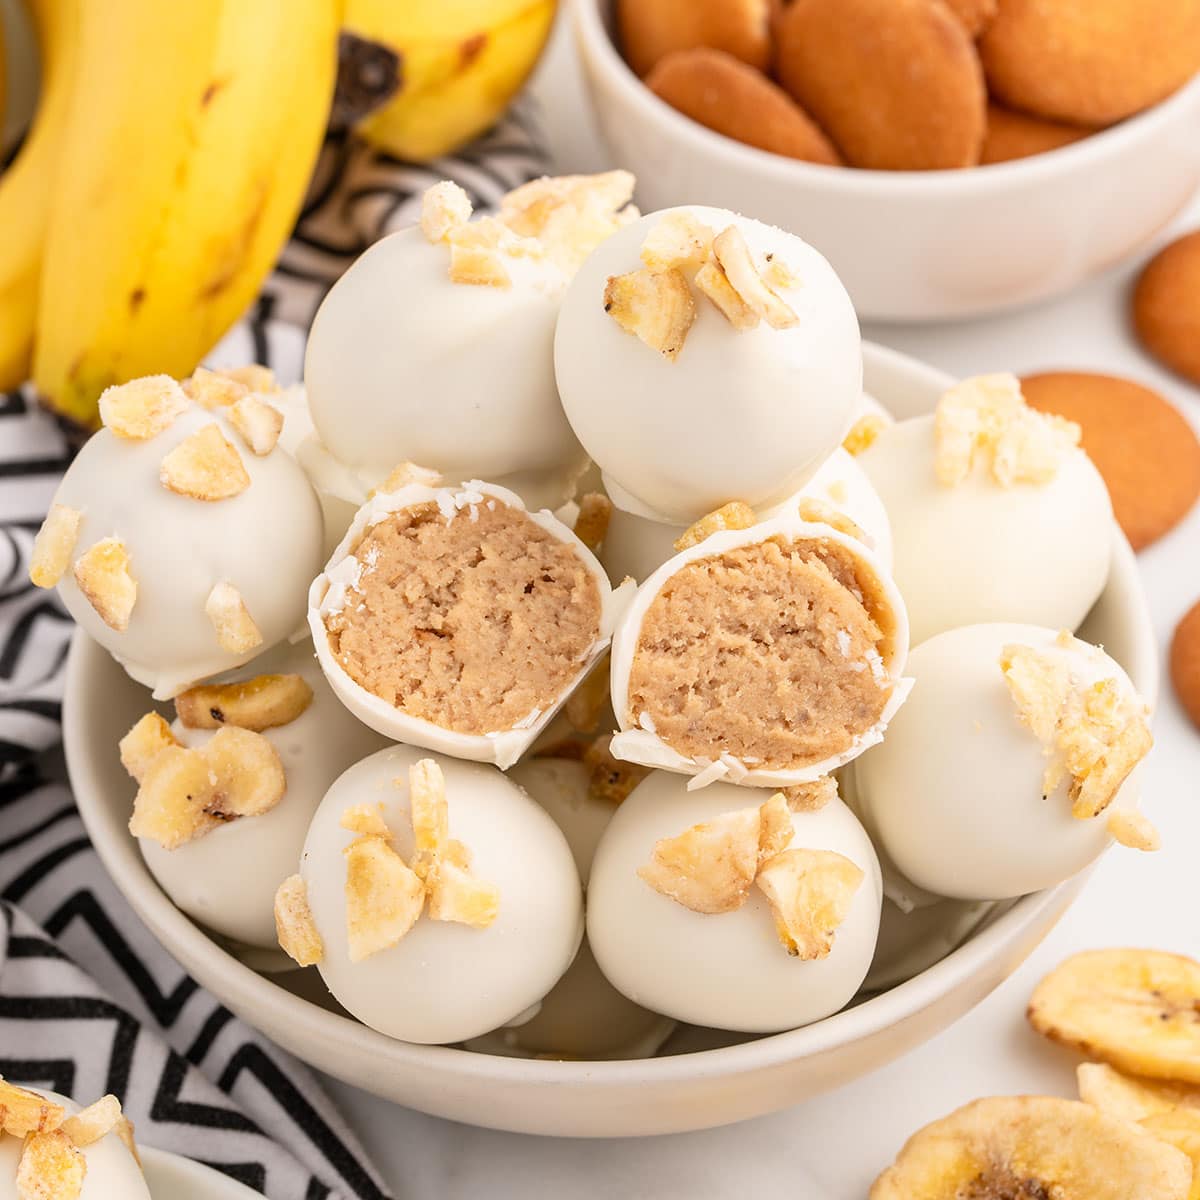
Banana pudding truffles are bite-sized treats inspired by classic banana pudding. Imagine creamy banana filling, a crunchy vanilla wafer shell, and a sweet chocolate coating. They’re easy to eat, fun to make, and perfect for sharing. Unlike traditional pudding, these truffles don’t need spoons or bowls. That makes them perfect for parties, picnics, or just a sweet snack at home.
Why I Love Banana Pudding Truffles
There’s something comforting about the banana-vanilla combo. These truffles bring out the best in both flavors. The first time I tried them, I was surprised by how balanced the flavors were. The chocolate coating adds a gentle snap. The inside? Creamy, mellow, and just the right amount of sweet.
A few reasons I keep making them:
- No baking needed
- Takes less than an hour, start to finish
- Uses everyday ingredients
- Easy to customize
- Always a hit with kids and adults
And honestly, they’re less messy than classic pudding, which means fewer dishes to wash.
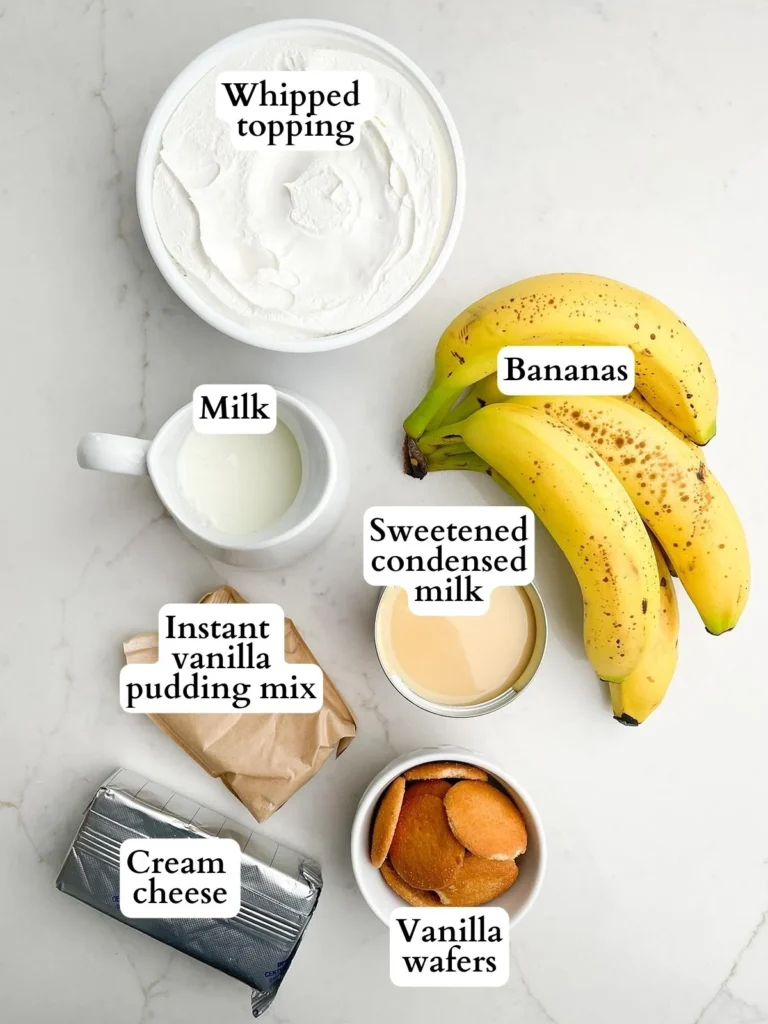
Ingredients: What You’ll Need
You won’t need any fancy tools or hard-to-find items. Here’s my go-to list for making about 24 truffles:
- 1 large ripe banana (about 1/2 cup mashed)
- 1 cup vanilla wafer crumbs (crush them in a bag with a rolling pin)
- 4 oz cream cheese, softened (half a block)
- 1/2 cup white chocolate chips (for the filling)
- 1/2 teaspoon vanilla extract
- Pinch of salt
- 8 oz melting chocolate or chocolate chips (white, milk, or dark)
- 1 tablespoon coconut oil (optional, for smoother chocolate)
- Crushed vanilla wafers or sprinkles (for topping, optional)
Pro tip: The banana should be spotty but not mushy. Overripe bananas add a deeper flavor but can make the filling too wet.
Ingredient Substitutions And Customizations
- Gluten-free: Use gluten-free vanilla wafers.
- Dairy-free: Swap cream cheese for vegan cream cheese and use dairy-free chocolate.
- Sweeter: Add 1-2 tablespoons powdered sugar to the filling.
- Nutty: Stir in some crushed pecans or walnuts.
I’ve tried different chocolates and even dipped a few in caramel. The classic version is still my favorite, but don’t be afraid to get creative.
Equipment Checklist
You probably already own everything you need:
- Mixing bowls
- Fork or potato masher
- Hand mixer (optional but helpful)
- Measuring cups and spoons
- Baking sheet
- Parchment paper or wax paper
- Small cookie scoop or spoon
- Microwave-safe bowl (for melting chocolate)
- Toothpicks or forks (for dipping)
If you want perfect round truffles, a small cookie scoop works wonders.
Step-by-step: How To Make Banana Pudding Truffles
I learned by trial and error that the steps matter. Here’s my tried-and-true method:
1. Prepare The Filling
Peel the banana and mash it well in a mixing bowl. You want it smooth, with no big lumps. Add the softened cream cheese, vanilla extract, and a pinch of salt. Mix until creamy.
Stir in the white chocolate chips (melted in the microwave in 20-second bursts, stirring between each) and the vanilla wafer crumbs. The mixture should be thick and slightly sticky.
Tip: If it feels too wet to roll, add more wafer crumbs, a tablespoon at a time.
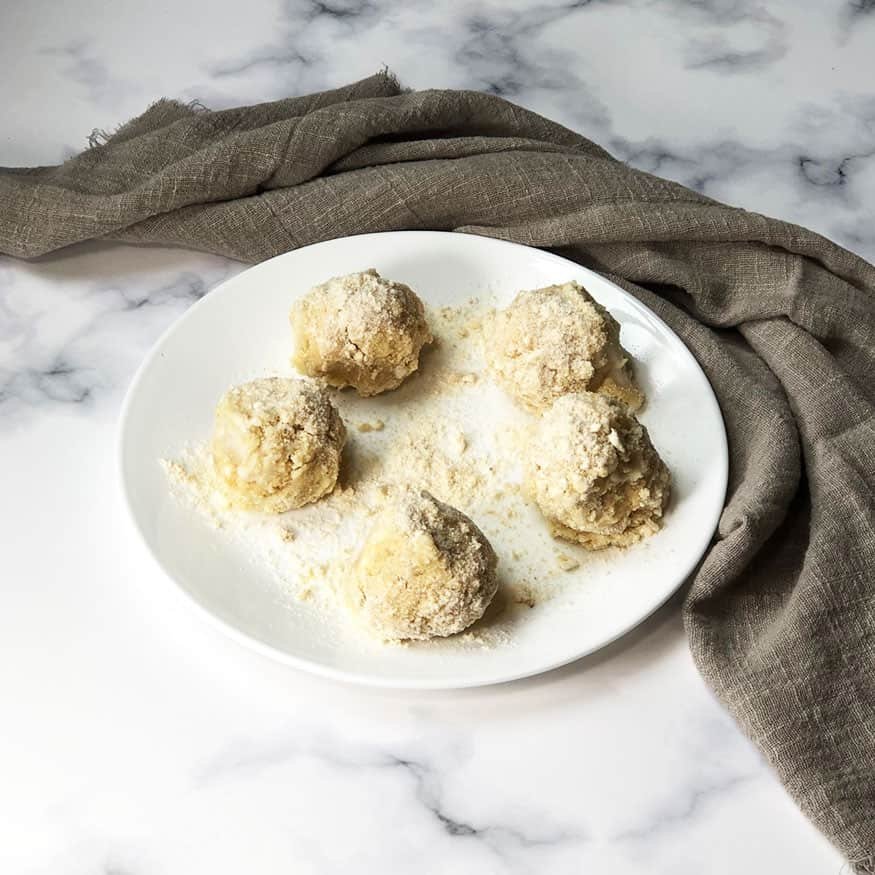
2. Shape The Truffles
Line a baking sheet with parchment paper. Scoop out small portions (about 1 tablespoon each) and roll them into balls. Place them on the baking sheet.
Refrigerate for at least 30 minutes. This step is key—cold truffles are easier to dip in chocolate.
3. Dip In Chocolate
Melt your chosen chocolate (with coconut oil if using) until smooth. I use the microwave, but a double boiler works too.
Using a fork or toothpick, dip each chilled truffle into the melted chocolate, letting any excess drip off. Place back on the lined baking sheet.
While the chocolate is still wet, sprinkle with crushed vanilla wafers or sprinkles.
4. Chill And Serve
Refrigerate the truffles until the chocolate is set, about 15 minutes. Now they’re ready to eat!
Serving tip: Store in an airtight container in the fridge for up to 4 days. They taste best chilled.
Data Table: Ingredient Breakdown And Calories
Here’s a quick look at the main ingredients, their amounts, and estimated calories per truffle (for 24 pieces):
| Ingredient | Amount | Calories per Batch | Calories per Truffle |
|---|---|---|---|
| Banana | 1 large (120g) | 110 | 5 |
| Vanilla wafer crumbs | 1 cup (100g) | 440 | 18 |
| Cream cheese | 4 oz (113g) | 400 | 17 |
| White chocolate chips | 1/2 cup (85g) | 460 | 19 |
| Melting chocolate | 8 oz (227g) | 1200 | 50 |
| Total | – | 2610 | 109 |
*Note: Actual calories can vary based on brands and chocolate type.*
Common Problems And How To Fix Them
I’ve made a few mistakes along the way, so let me save you some trouble:
Filling Too Soft Or Wet
This usually happens if the banana is overripe or you use too much. Add more wafer crumbs until you can roll the mixture into balls. Chilling also helps.
Chocolate Coating Too Thick
If your melted chocolate is gloppy, add a little coconut oil. It thins out the chocolate and gives a smoother finish.
Truffles Falling Apart In Chocolate
If the centers aren’t cold enough, they’ll break. Chill them for at least 30 minutes, or freeze for 10 minutes before dipping.
Chocolate Cracking
This can happen if the truffles are frozen solid. I keep mine in the fridge, not the freezer, before dipping.
Experience-based Tips For Perfect Truffles
After making these for years, I’ve picked up a few tricks:
- Use a cookie scoop for even balls. This keeps them uniform and helps with dipping.
- Work in batches if it’s hot in your kitchen. Keep some truffles in the fridge while you dip the others.
- Decorate while wet. Sprinkle crumbs or drizzle extra chocolate as soon as you dip.
- Double-dip for a thicker shell. If you love chocolate, let the first coat set, then dip again.
- Banana flavor fades. Use fresh banana for the best taste. Don’t make the filling days ahead.
Flavor Variations I’ve Tried
Banana pudding truffles are flexible. Here are a few spins I’ve enjoyed:
- Peanut butter banana: Add 2 tablespoons peanut butter to the filling.
- Nutella swirl: Mix in a spoonful of Nutella for chocolate-hazelnut notes.
- Spiced banana: Add a pinch of cinnamon or nutmeg.
- Salted caramel: Drizzle with caramel and sprinkle flaky salt.
- Mocha banana: Add a teaspoon of instant coffee to the filling.
Each version brings something new, but the original is always a safe bet.
Making Banana Pudding Truffles For A Crowd
If you’re making these for a party or big event, here’s what I do:
- Double the recipe: The filling mixes up easily in a large bowl.
- Set up a dipping station: Melt chocolate in two bowls to speed things up.
- Use mini cupcake liners: This keeps truffles from sticking together and looks festive.
- Label flavors: If you’re making different types, a simple tag helps guests know what’s inside.
They travel well, especially if kept cold. I’ve taken them to family reunions and they survived a two-hour drive with no problem.
How Banana Pudding Truffles Compare To Other Desserts
Sometimes, people ask if these are like cake pops or classic truffles. Here’s my honest comparison:
| Dessert | Main Flavor | Texture | Prep Time | Serving Style |
|---|---|---|---|---|
| Banana pudding truffles | Banana, vanilla, chocolate | Creamy & crunchy | 45 min | Bite-sized, hand-held |
| Cake pops | Cake, frosting, chocolate | Soft, dense | 1 hr+ | On a stick |
| Classic truffles | Chocolate ganache | Smooth, rich | 1 hr+ | Bite-sized, hand-held |
| Banana pudding | Banana, vanilla, whipped cream | Creamy, soft | 1 hr+ | Bowl/spoon |
Banana pudding truffles are faster and less messy than most. They’re also more portable—no forks or plates required.
Storing And Freezing Banana Pudding Truffles
One thing I love: these truffles can be made ahead. Here’s what I’ve learned:
- Refrigerate: Store in an airtight container for up to 4 days.
- Layer with parchment: If stacking, parchment or wax paper prevents sticking.
- Freeze: They freeze well for up to 1 month. Thaw in the fridge before serving.
- Avoid room temp: They get soft if left out for hours, especially in warm weather.
If you want to prep in advance, make the filling and roll the balls a day ahead. Dip in chocolate the day you serve for the freshest taste.
Serving Ideas And Presentation
Presentation matters, especially for parties. Here’s how I like to serve banana pudding truffles:
- On a platter: Arrange in neat rows and sprinkle extra crumbs over the top.
- In mini cupcake wrappers: Looks cute and keeps fingers clean.
- As a truffle tower: Stack in a pyramid for a centerpiece.
- Paired with coffee or tea: They’re sweet but not too heavy for an afternoon treat.
I’ve even packed them in boxes as gifts. They hold up well with a small ice pack.
How These Truffles Fit Into Different Diets
If you’re wondering about dietary needs, you’re not alone. I have friends who are gluten-free and dairy-free, so I’ve tested swaps.
- Gluten-free: Use gluten-free cookies (like vanilla sandwich cookies).
- Dairy-free: Vegan cream cheese and dairy-free chocolate work. The texture is slightly softer, but the taste is still great.
- Nut-free: The classic recipe has no nuts. Just check your chocolate ingredients.
- Lower sugar: Use sugar-free chocolate or a mashed banana that’s not too ripe.
Are they healthy? They’re still a treat, but using real bananas and simple ingredients makes them better than many store-bought desserts.
Real-life Stories: Who Loves These Truffles?
Every time I bring these out, someone asks for more. My grandma, who’s picky about desserts, says they remind her of old-fashioned banana pudding but “less messy. ” Kids love the chocolate shell and the creamy middle. Even my friend who “doesn’t like bananas” has eaten three in one sitting.
I’ve made them for:
- Office potlucks (gone in 10 minutes)
- Kids’ birthday parties (huge hit)
- Holiday cookie swaps (stood out among cookies)
- Quiet afternoons at home (no judgment)
Sharing these always sparks conversation. People love that they’re homemade but look like they came from a bakery.
Cost Comparison: Homemade Vs Store-bought
If you’re like me, you want to know if it’s worth making truffles at home. Here’s a simple cost breakdown (prices as of 2024):
| Ingredient | Amount | Average Cost |
|---|---|---|
| Banana | 1 large | $0.30 |
| Vanilla wafers | 1 cup | $1.00 |
| Cream cheese | 4 oz | $1.00 |
| White chocolate chips | 1/2 cup | $1.20 |
| Melting chocolate | 8 oz | $2.00 |
| Total (for 24 truffles) | – | $5.50 |
| Store-bought truffles (per dozen) | 12 | $8-15 |
| Homemade (per dozen) | 12 | $2.75 |
Homemade truffles are usually cheaper, fresher, and you control what goes in.
What Beginners Might Miss
When I first started, I thought I could skip chilling the filling. Don’t. Truffles fall apart if you rush this step. Also, don’t over-mash the banana—a few lumps are okay but too smooth makes the filling watery.
Another thing: taste the filling before rolling. Some bananas are sweeter than others, and you might want to add a pinch of sugar or a splash of lemon juice.
Finally, don’t skip the salt. It makes the banana and chocolate flavors pop.
The Best Time To Make Banana Pudding Truffles
Honestly, any time. But here’s when I’ve found them most useful:
- Summer picnics: No forks, no mess.
- Holidays: Easy to transport and share.
- After-school snacks: Kids love helping roll the balls.
- Midweek treats: Uses up overripe bananas.
If you want a dessert that feels special but won’t stress you out, these are perfect.
Where To Find More Inspiration
If you’re hungry for more dessert ideas, or want to see step-by-step photos, I often check resources like Allrecipes. There, you’ll find all kinds of truffle twists and baking tips.
Frequently Asked Questions
How Ripe Should The Banana Be?
Use a banana that’s yellow with brown spots. Too green and the flavor is weak. Too black and the filling gets mushy. The “just right” banana is soft, sweet, and easy to mash.
Can I Make These Ahead Of Time?
Yes! You can make the filling and roll the balls a day ahead. Dip in chocolate the day you serve for the freshest taste. Store finished truffles in the fridge for up to 4 days.
What Chocolate Works Best For Dipping?
I’ve had the best luck with melting wafers or high-quality chocolate chips. Add a little coconut oil if the chocolate is too thick. White, milk, and dark chocolate all work—choose your favorite.
Do I Need A Food Processor For The Wafers?
Not at all. I usually crush vanilla wafers in a zip-top bag with a rolling pin. A food processor is faster, but not necessary.
Can I Freeze Banana Pudding Truffles?
Absolutely. Freeze in an airtight container for up to one month. Thaw in the fridge before serving. The texture is a little softer after freezing, but still delicious.
Whether you’re a seasoned baker or just starting out, easy banana pudding truffles are a fun, tasty way to enjoy classic flavors in a new form. I hope you’ll try them, add your own twist, and share with your friends—just be ready for them to disappear fast!